How to Make Oracle Cards
Oracle cards can serve as the medium through which we can listen to ourselves and hear what our inner parts are telling us.


Using our brain's tendency to find meaning in nothing is a useful way to practice cartomancy. I don't believe that we can use tarot or oracle cards to predict the future, nor to find tall, dark handsome men. However, I do find them to be a useful tool for meditation and self-examination. Oracle cards can serve as the medium through which we can listen to ourselves and hear what our inner parts are telling us.
In quite a few Western occult traditions, the making of one's own tools is part of the journey. This guide will walk you through how you can make your own cards using supplies you may have in your craft closet. My supplies came from an expedition into the depths of my craft closet as well as some spare blank tarot cards I had lying around.
I used vinyl to make the cards sturdier. The transparent vinyl on the front will protect the stickers as you shuffle and make the deck last longer. Permanent vinyl on the back also helps with this durability. You can use temporary or permanent transparent vinyl on the front, but you will want permanent vinyl for the back.
I have listed the supplies you need below as well as optional supplies I found useful.
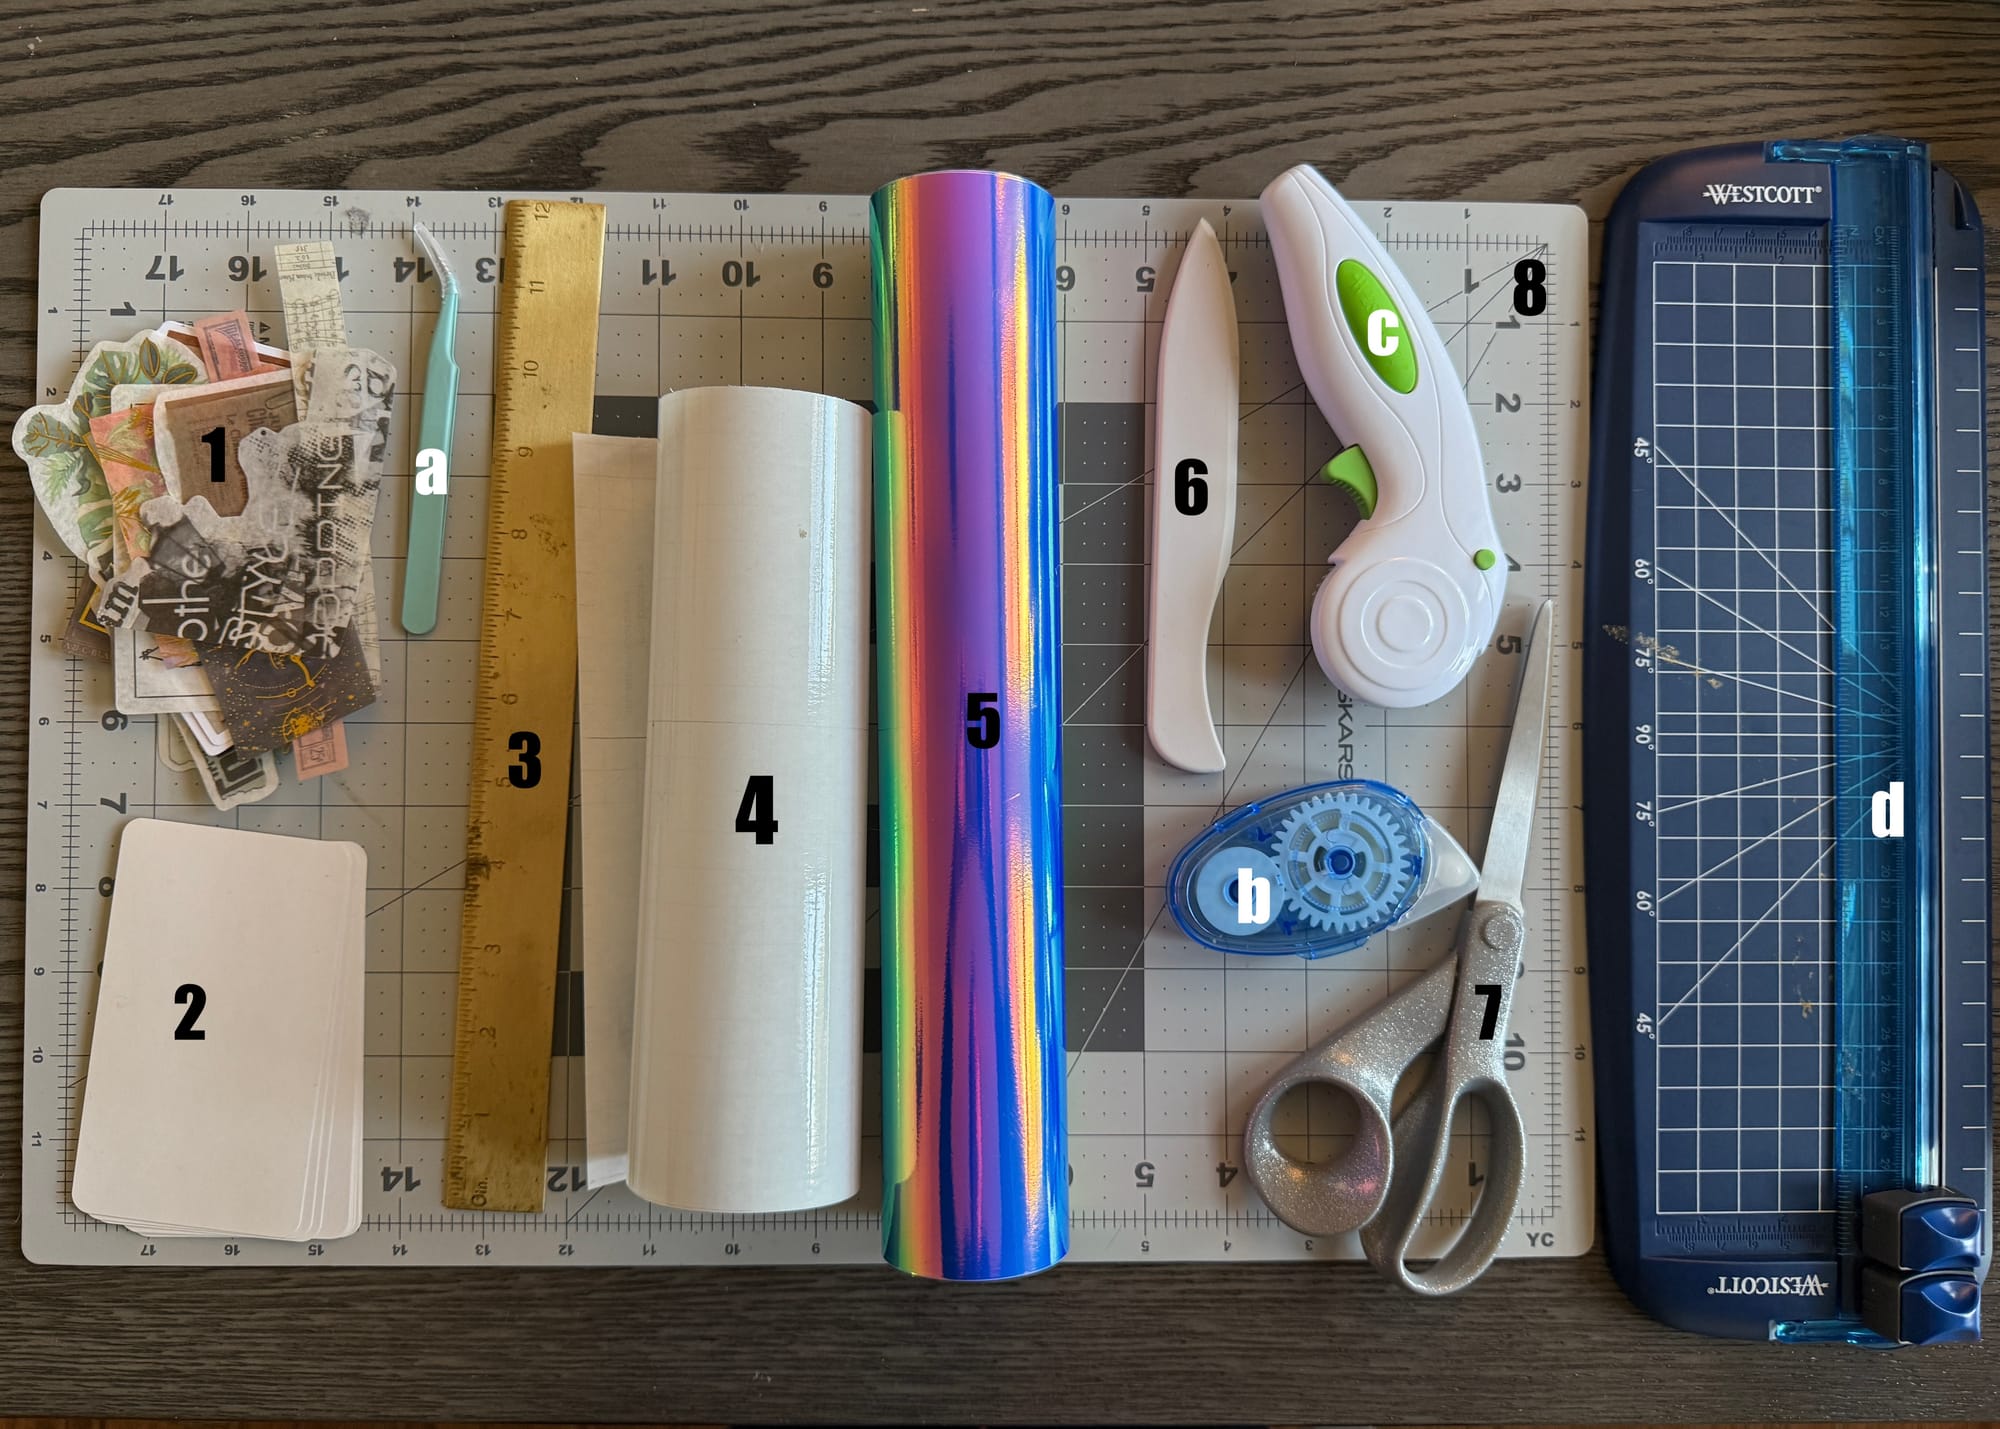
Necessary supplies:
- Stickers
- Card base
- Ruler
- Transparent vinyl (temporary or permanent)
- Colored vinyl (permanent)
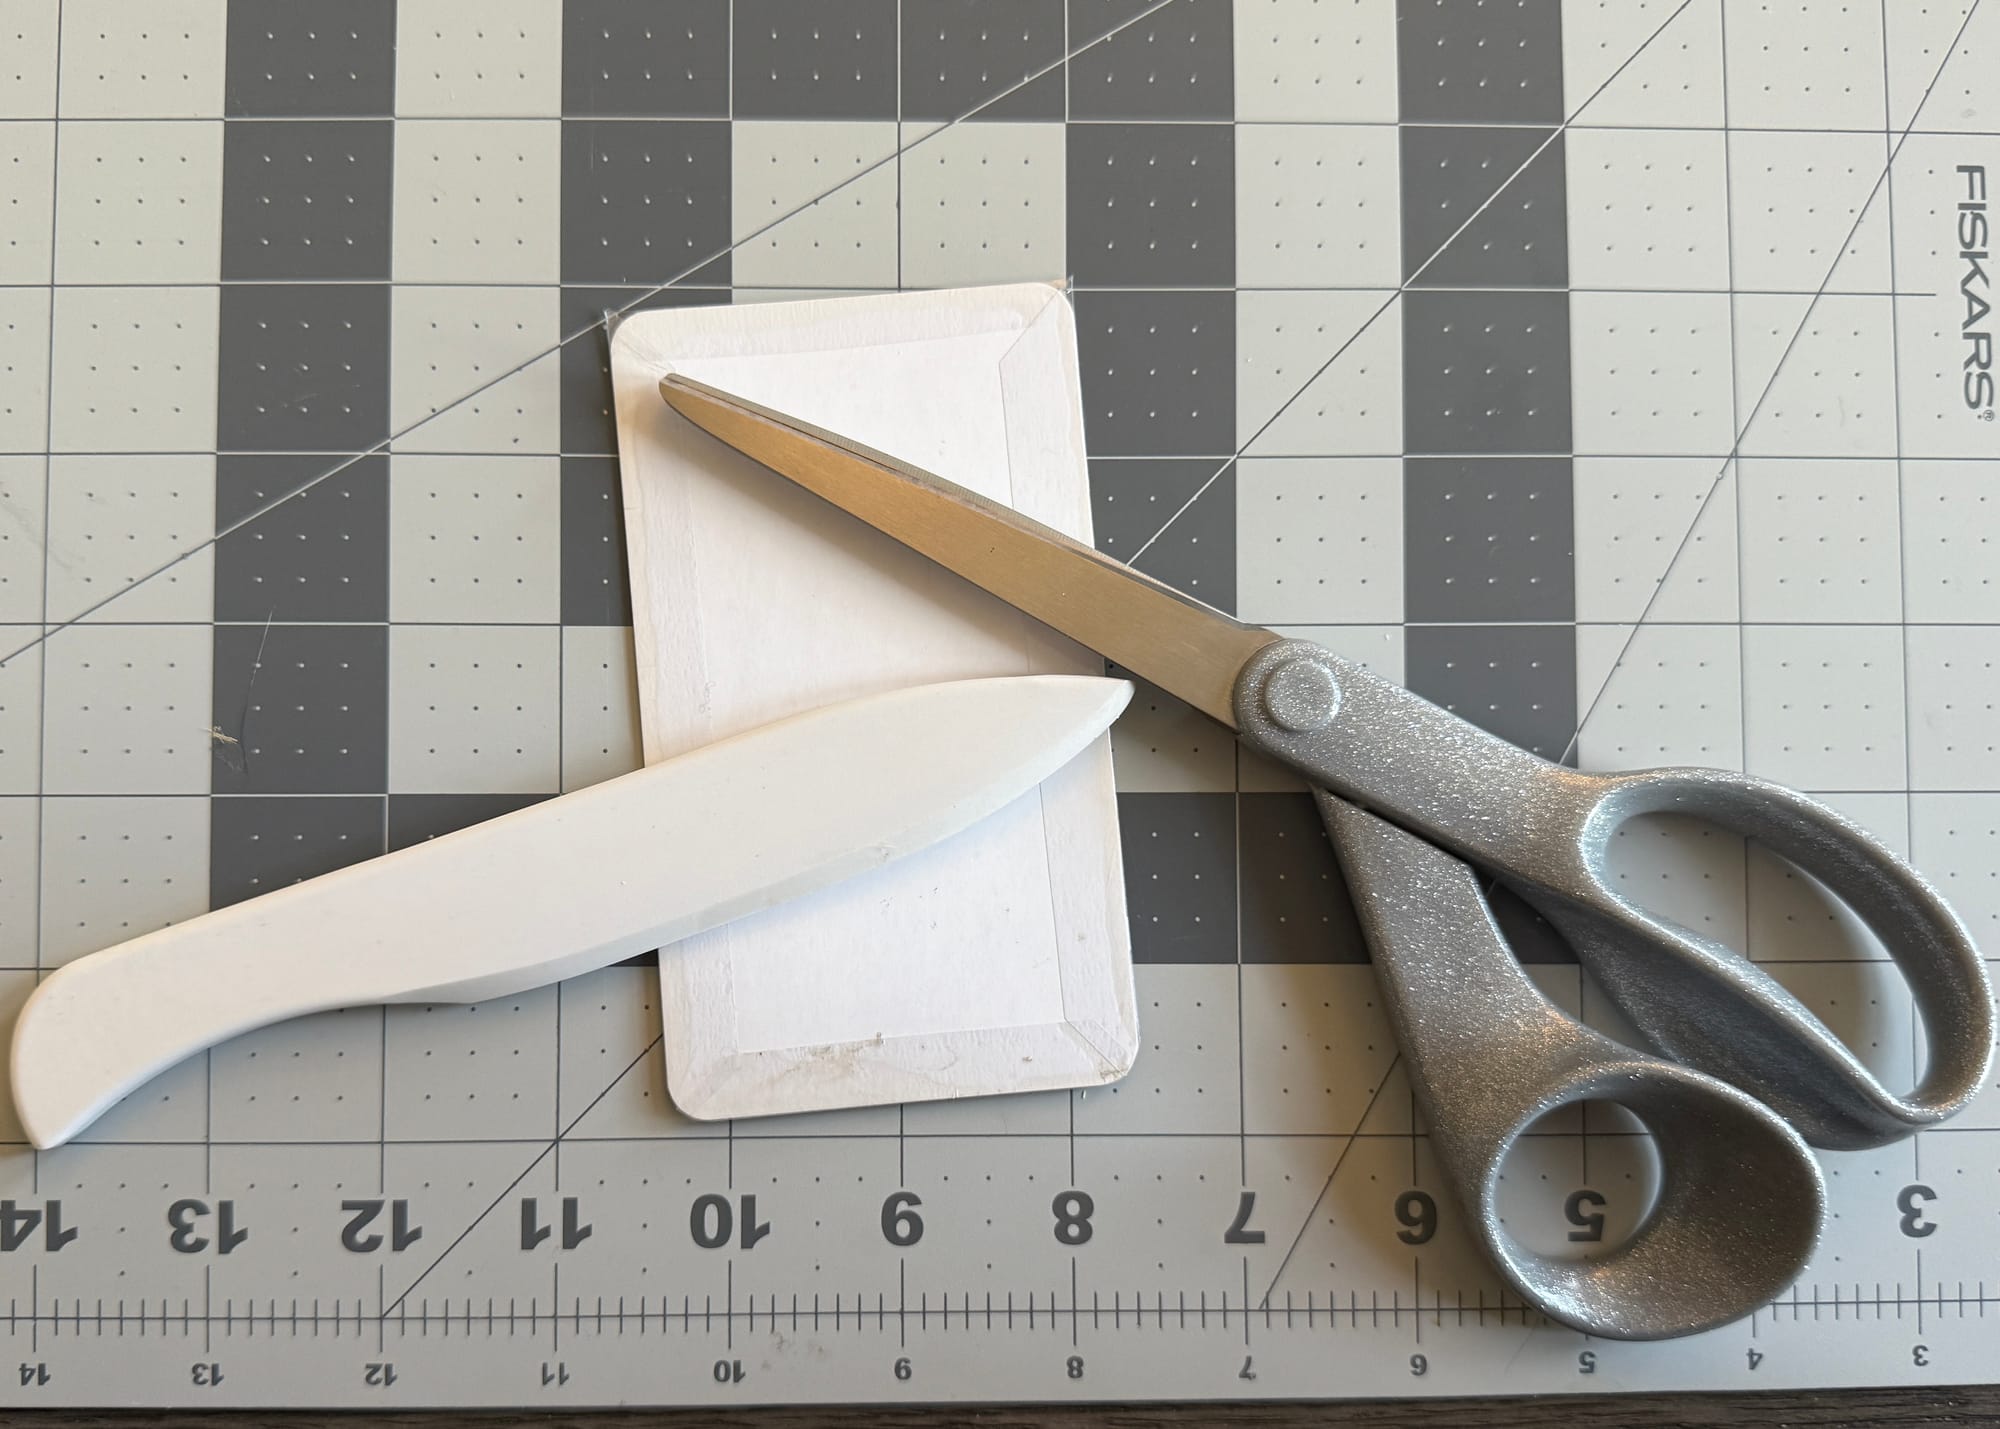
- Bone folder (a credit card works too!)
- Scissors
- Cutting surface (I'm using a self-healing mat, but anything to protect your table will work)
Optional supplies:
a. Sticker tweezers
b. Glue tape
c. Rotary cutter
d. Paper cutter (this makes your life easier if, like me, you can't cut a straight line)
e. Something to hold the vinyl in place as you're working with it. I used the ruler and some tape for this, but some table weights will also be helpful.
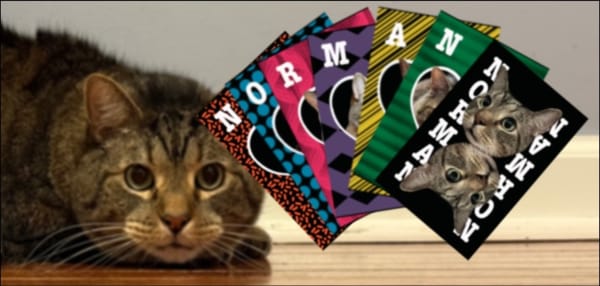
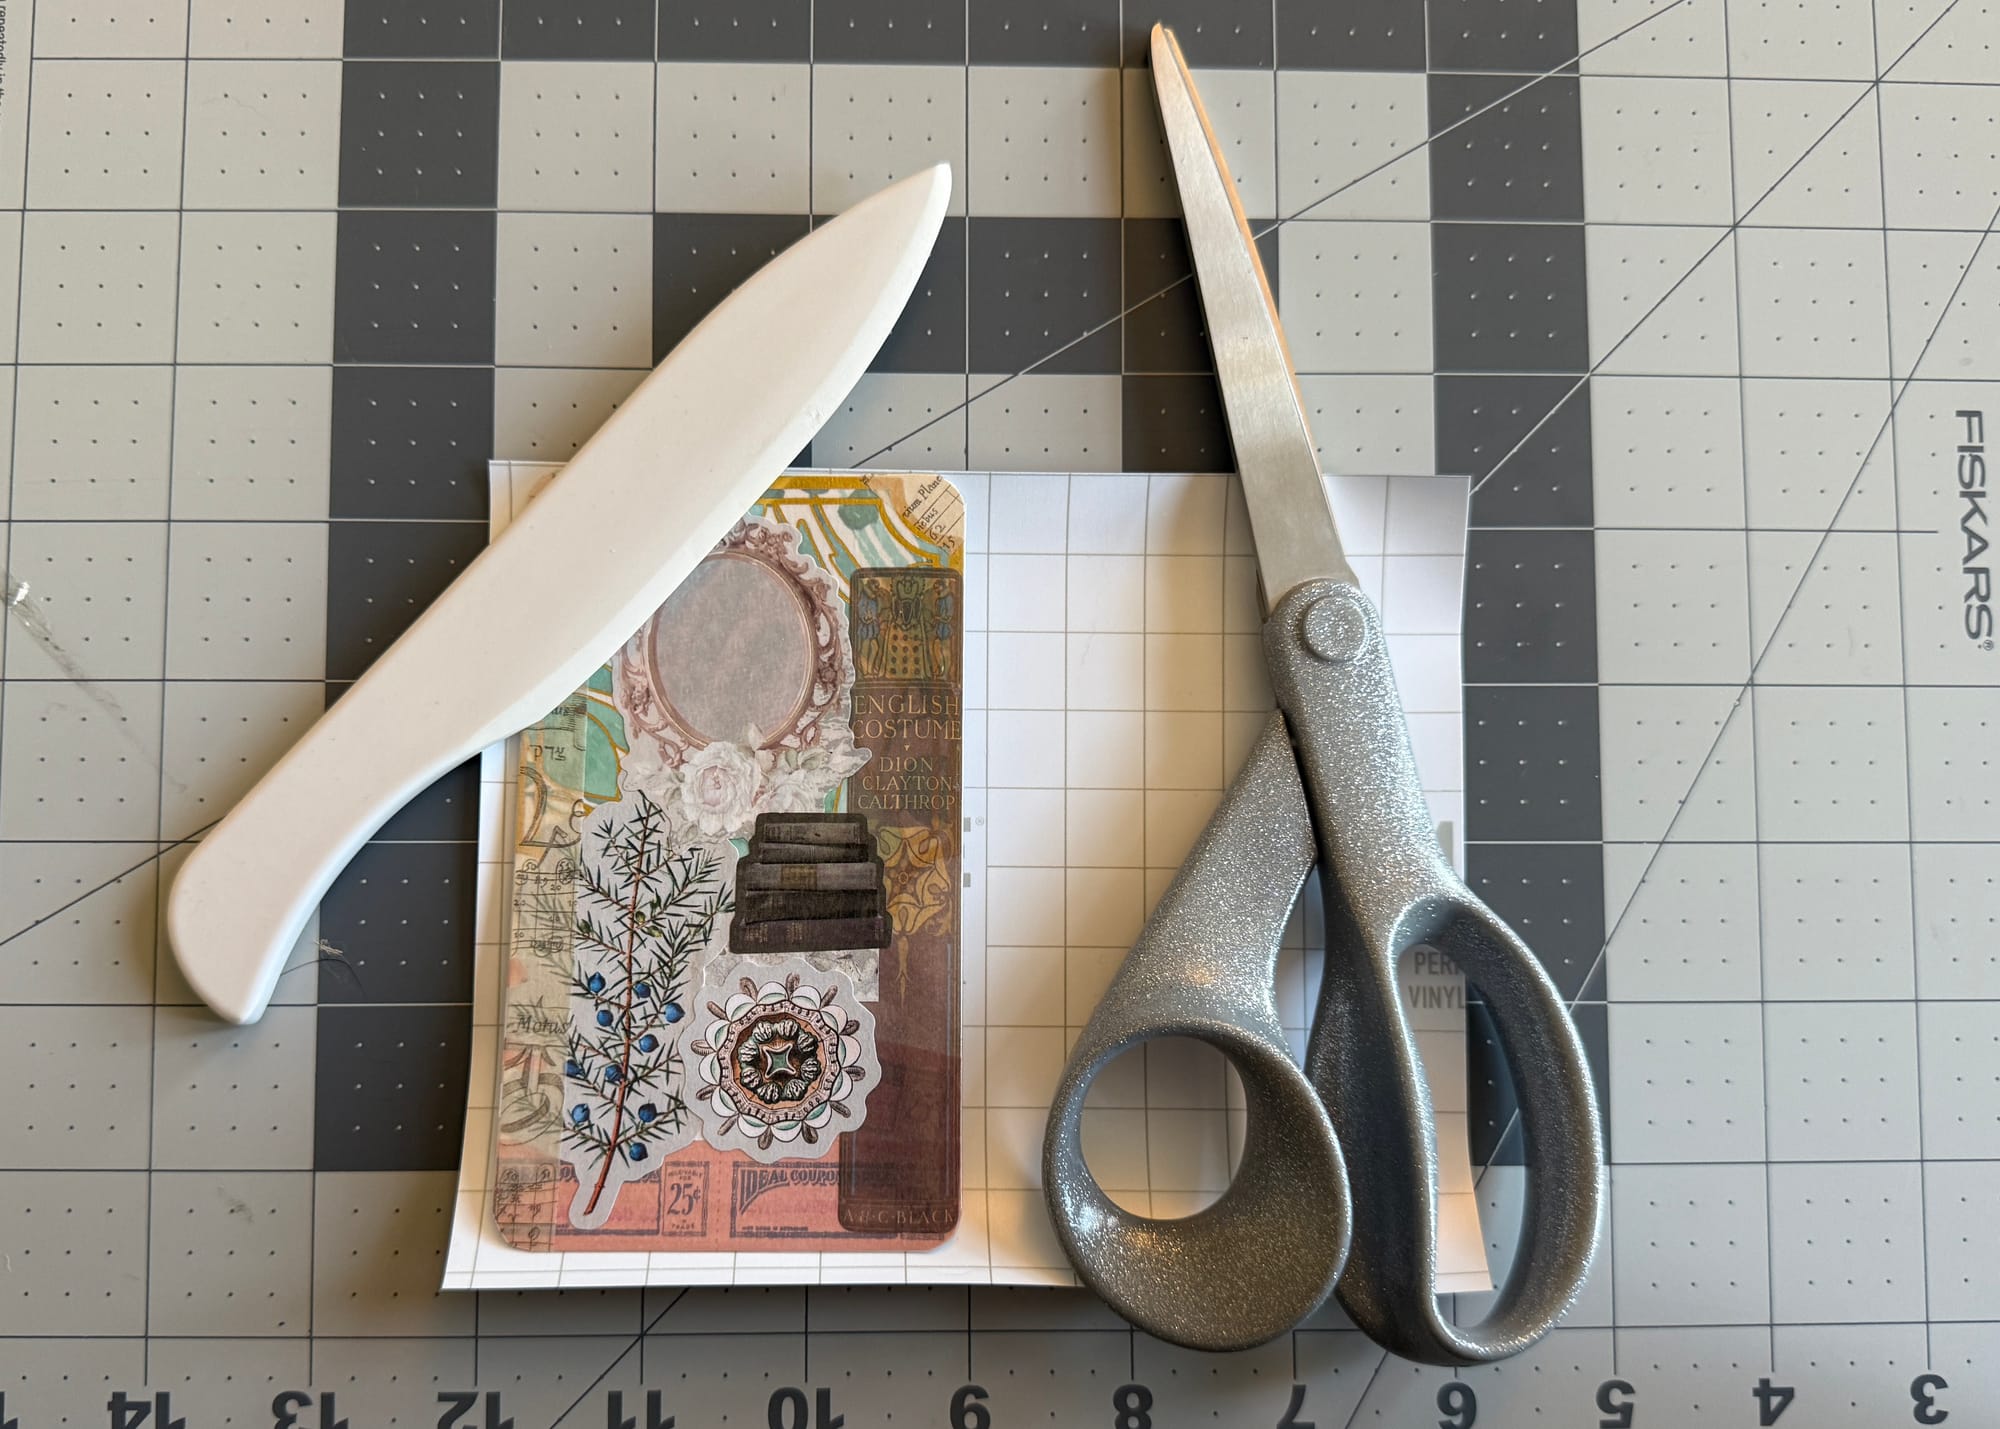
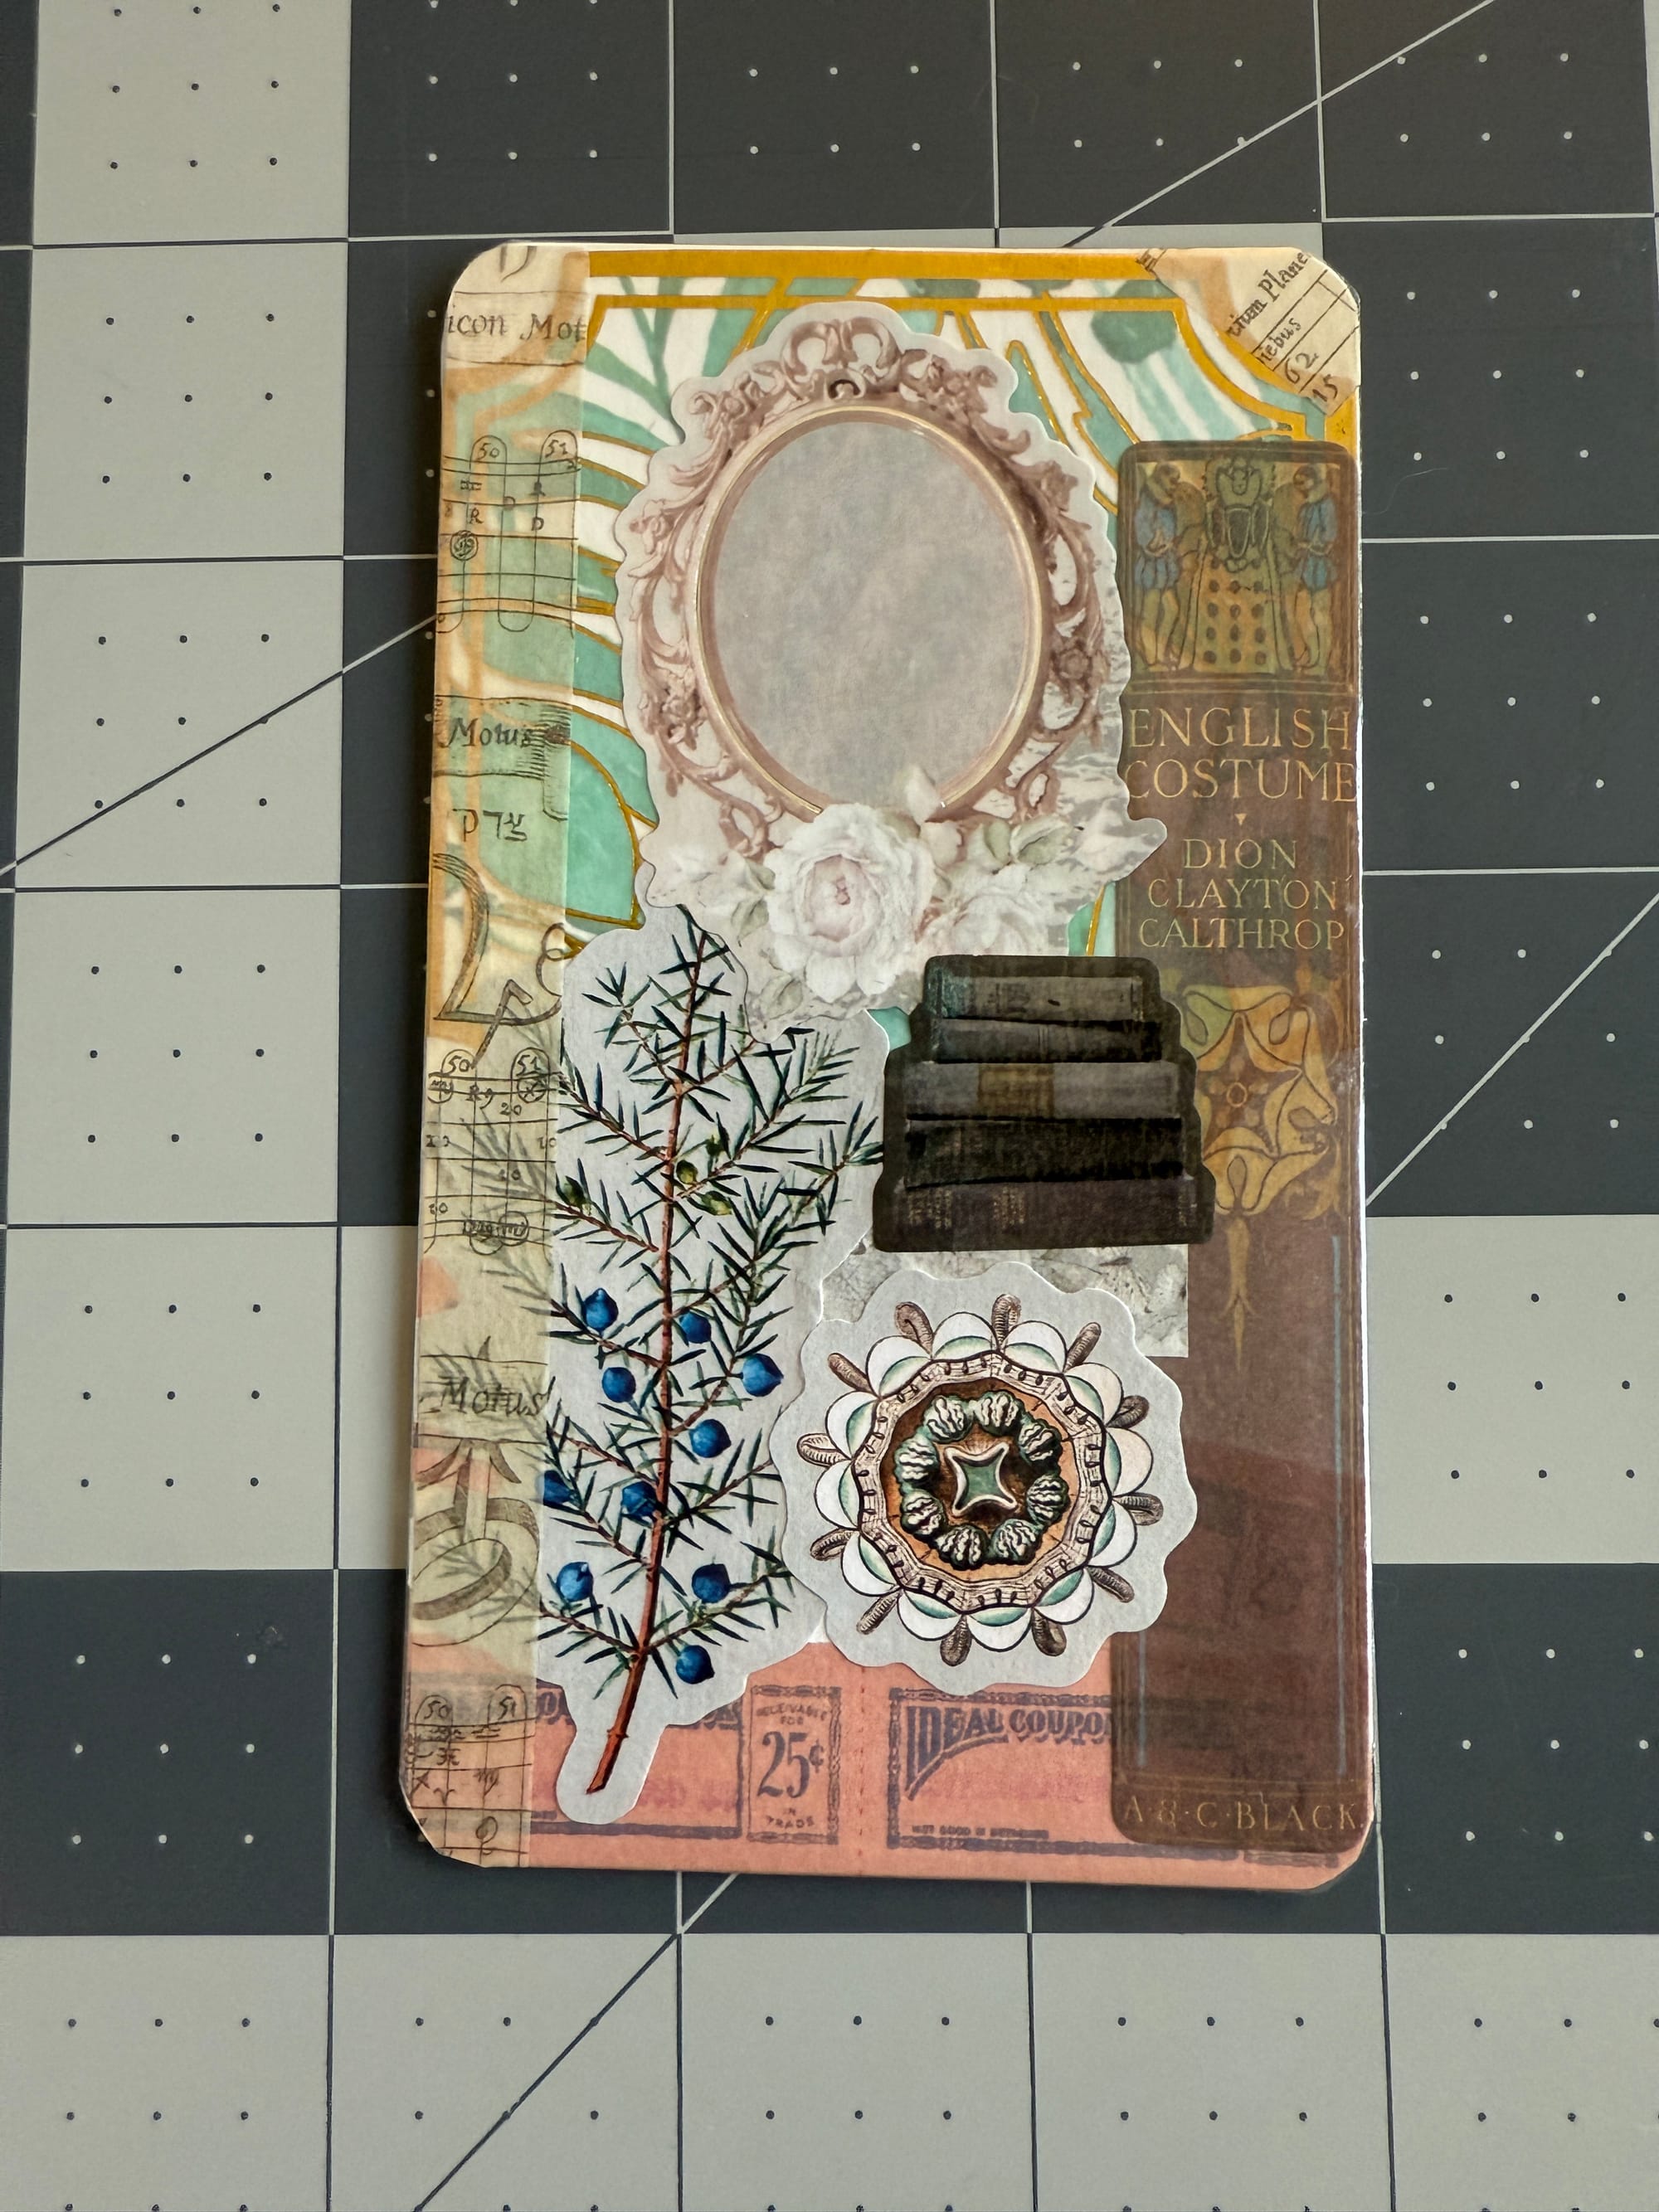
To start, select your stickers. I've used whatever stickers I had around the house, as I cannot resist buying cool stickers when I see them. Since I'm doing this as a "design as I feel like" rather than with any consistent style, I am putting my entire sticker collection at my disposal.
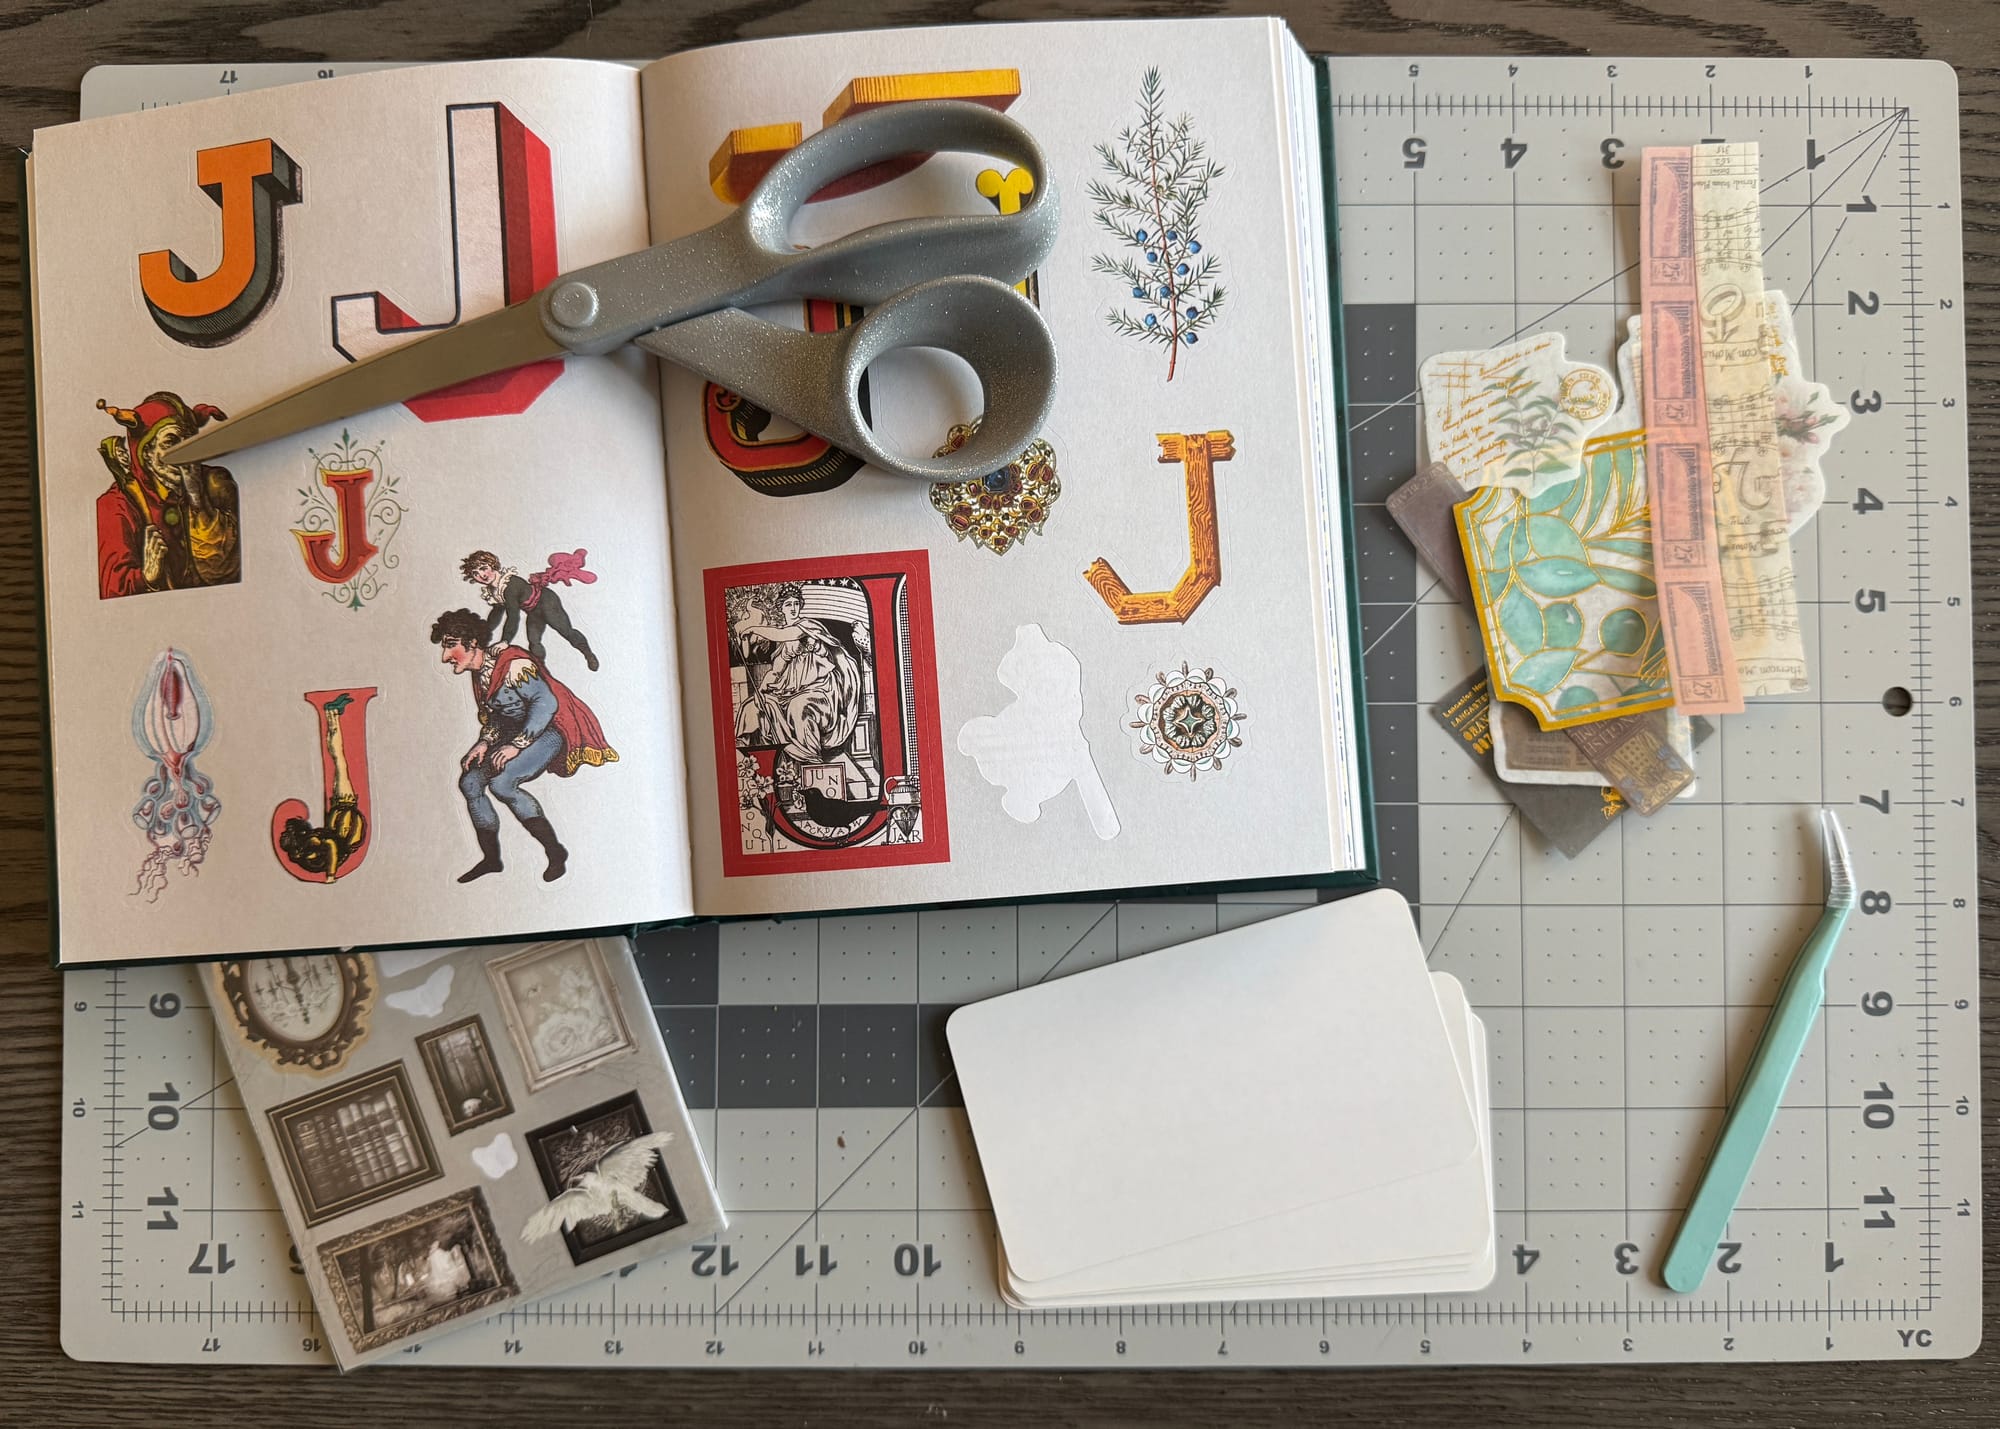
Taking one of the cards, I added stickers until I felt the card was done.
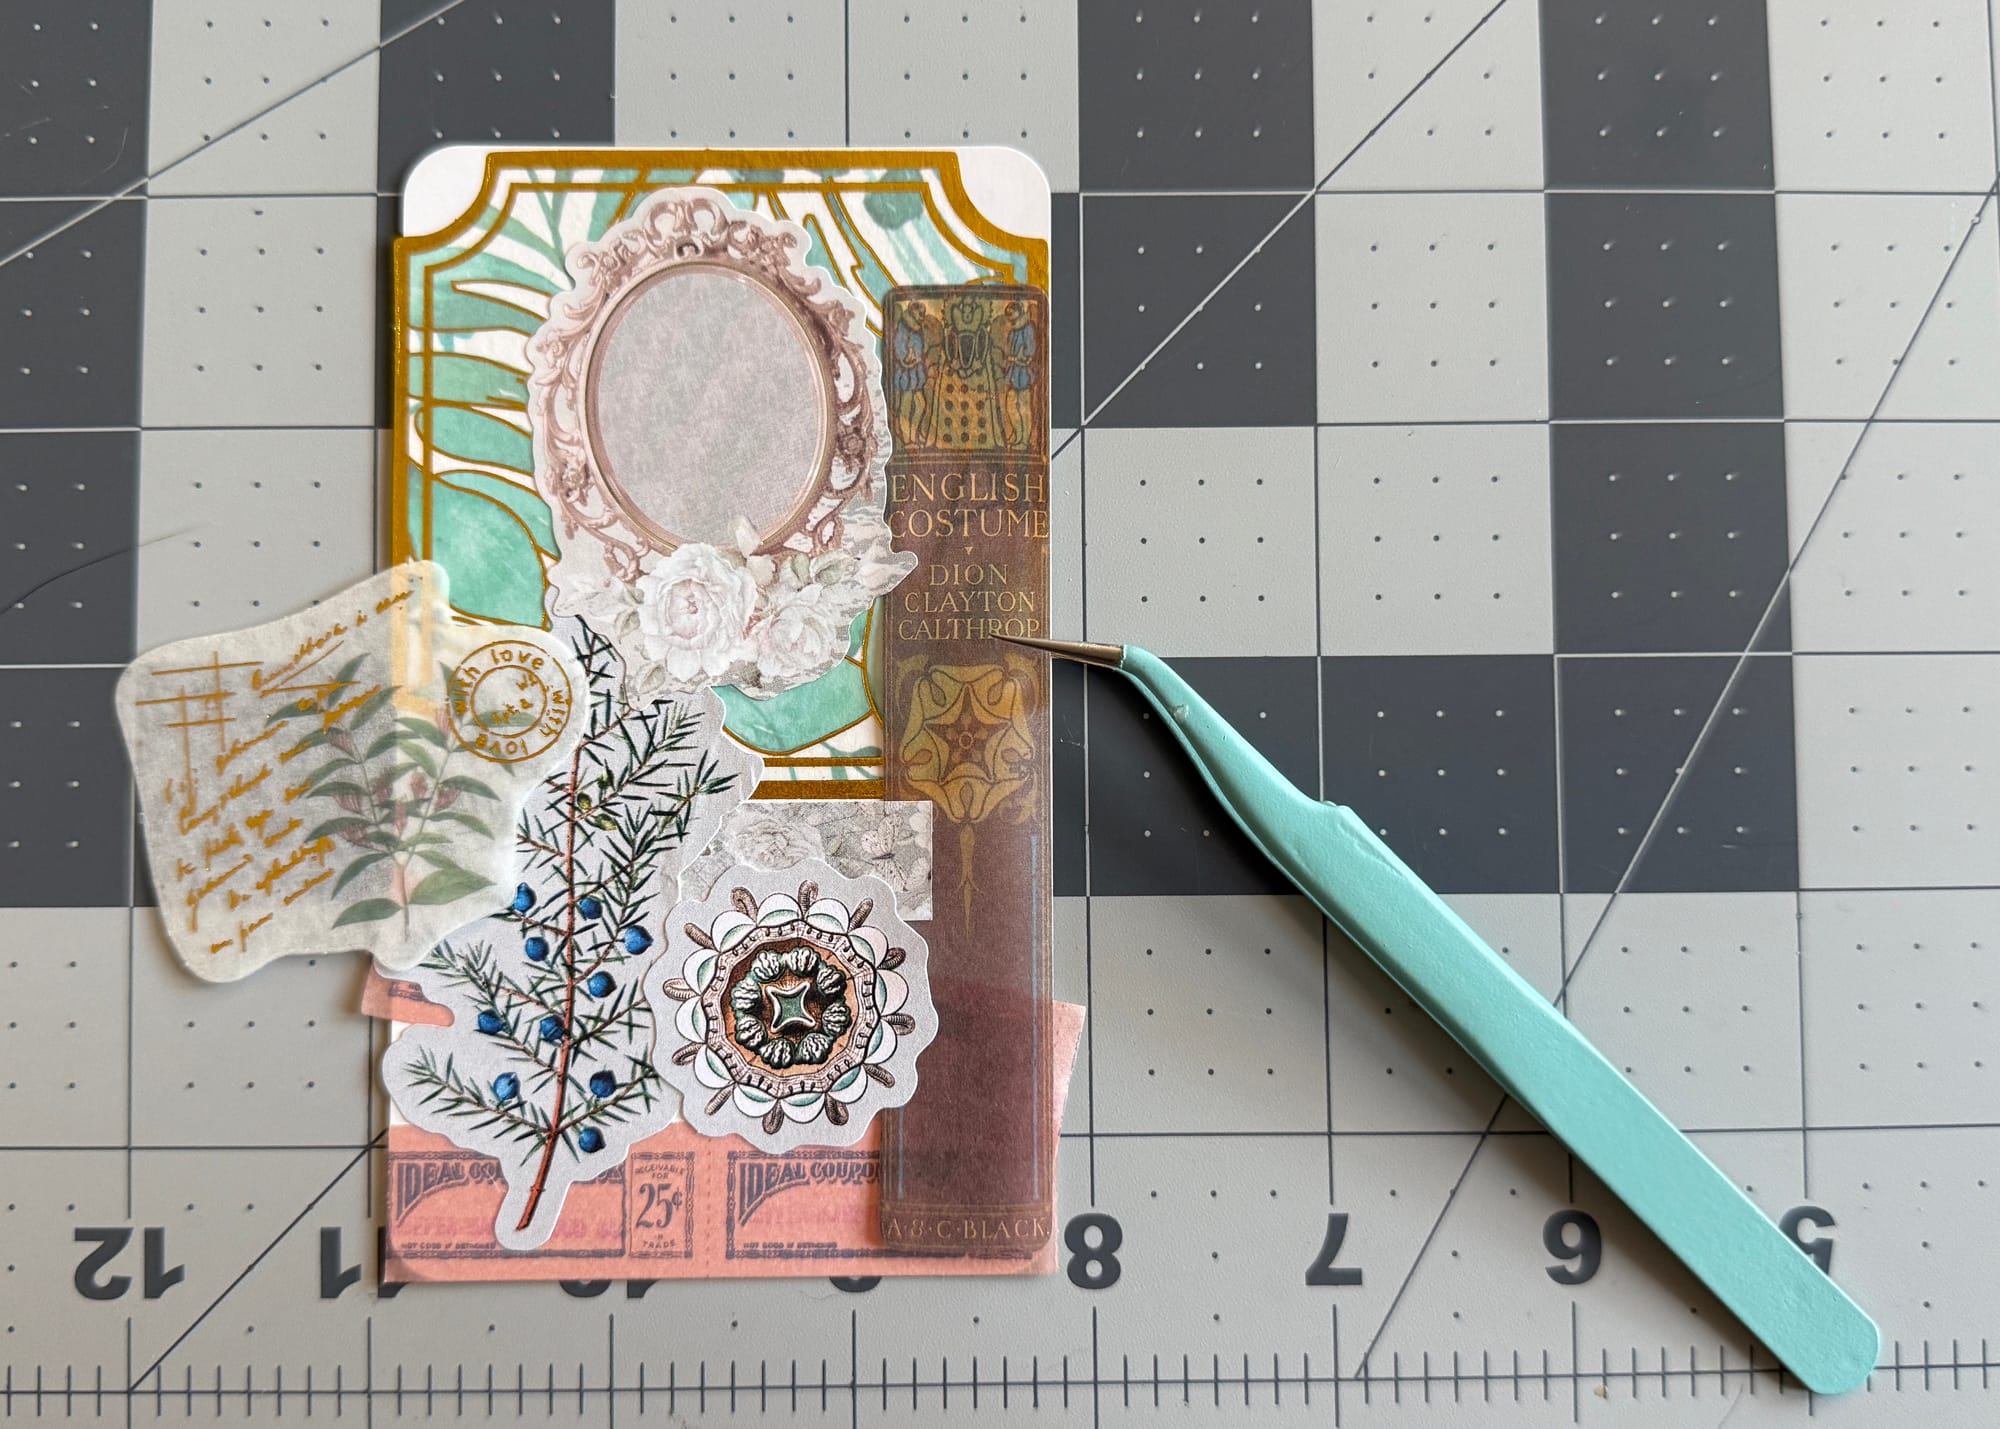
The sticker tweezer I have came with a bulk sticker order I made a couple years ago on the giant online retailer. You don't really need it, but it is helpful if you want to lift an edge of a sticker, or if you have stickers with hard to remove backs.
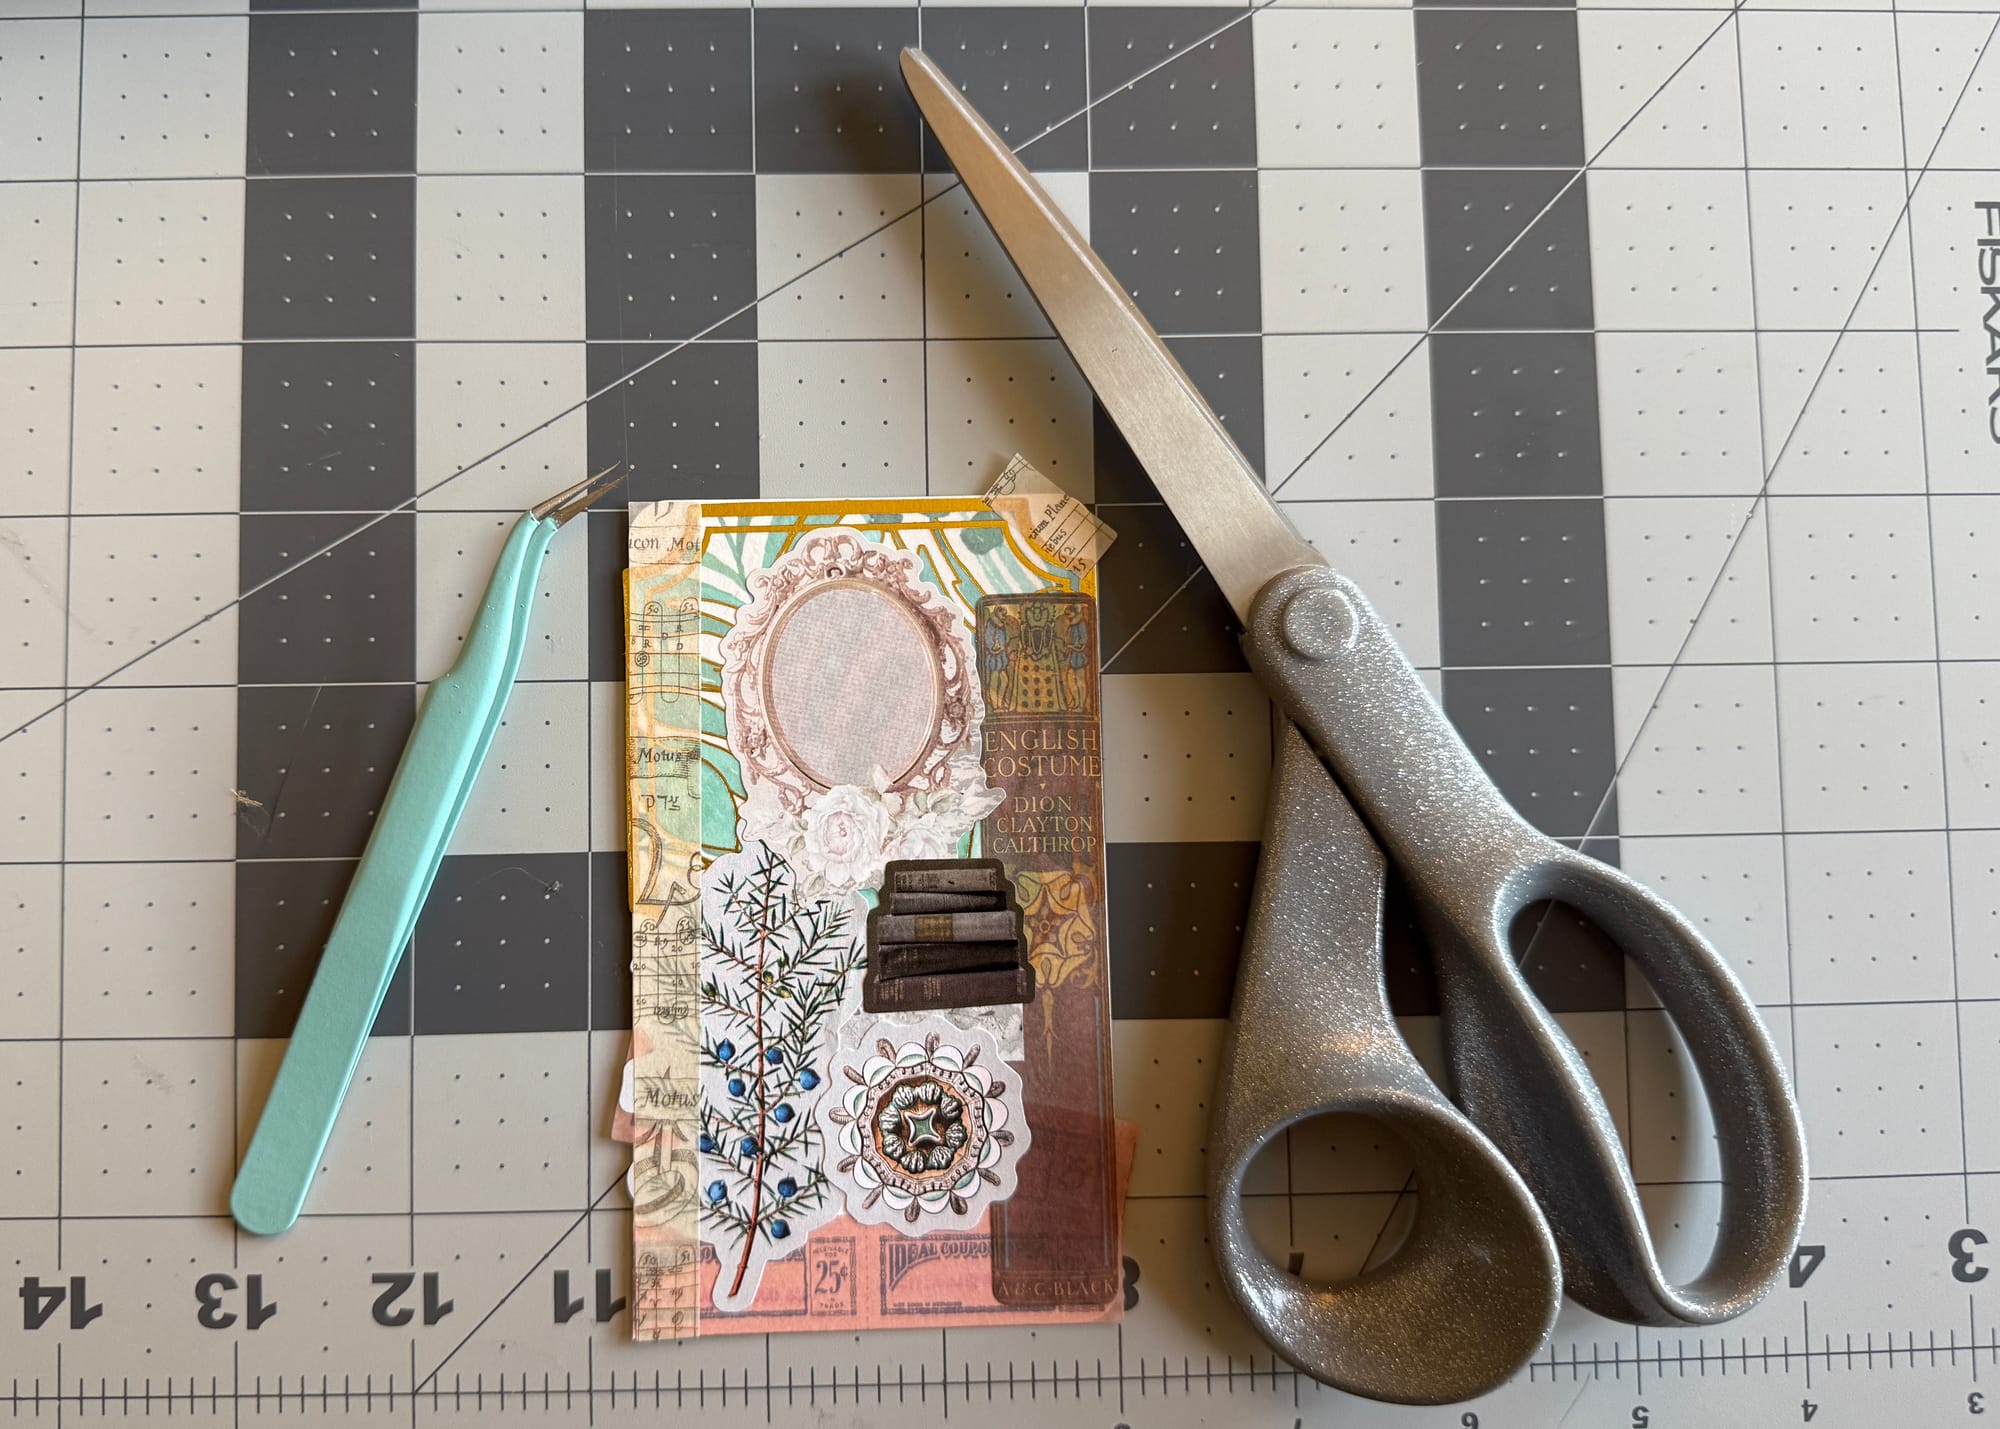
Once the card is done, trim around the edges so you don't have any excess sticker. You can use the rotary cutter for this, but the scissors were much easier for me.

Next, measure the clear front. I used temporary vinyl instead of permanent for this only because they didn't have the permanent at the craft store. It makes it easier to reposition the cards as you go, so that is a benefit if you want a bit more flexibility.
Measure over by about 1/4 inch so you can fold the edges over.
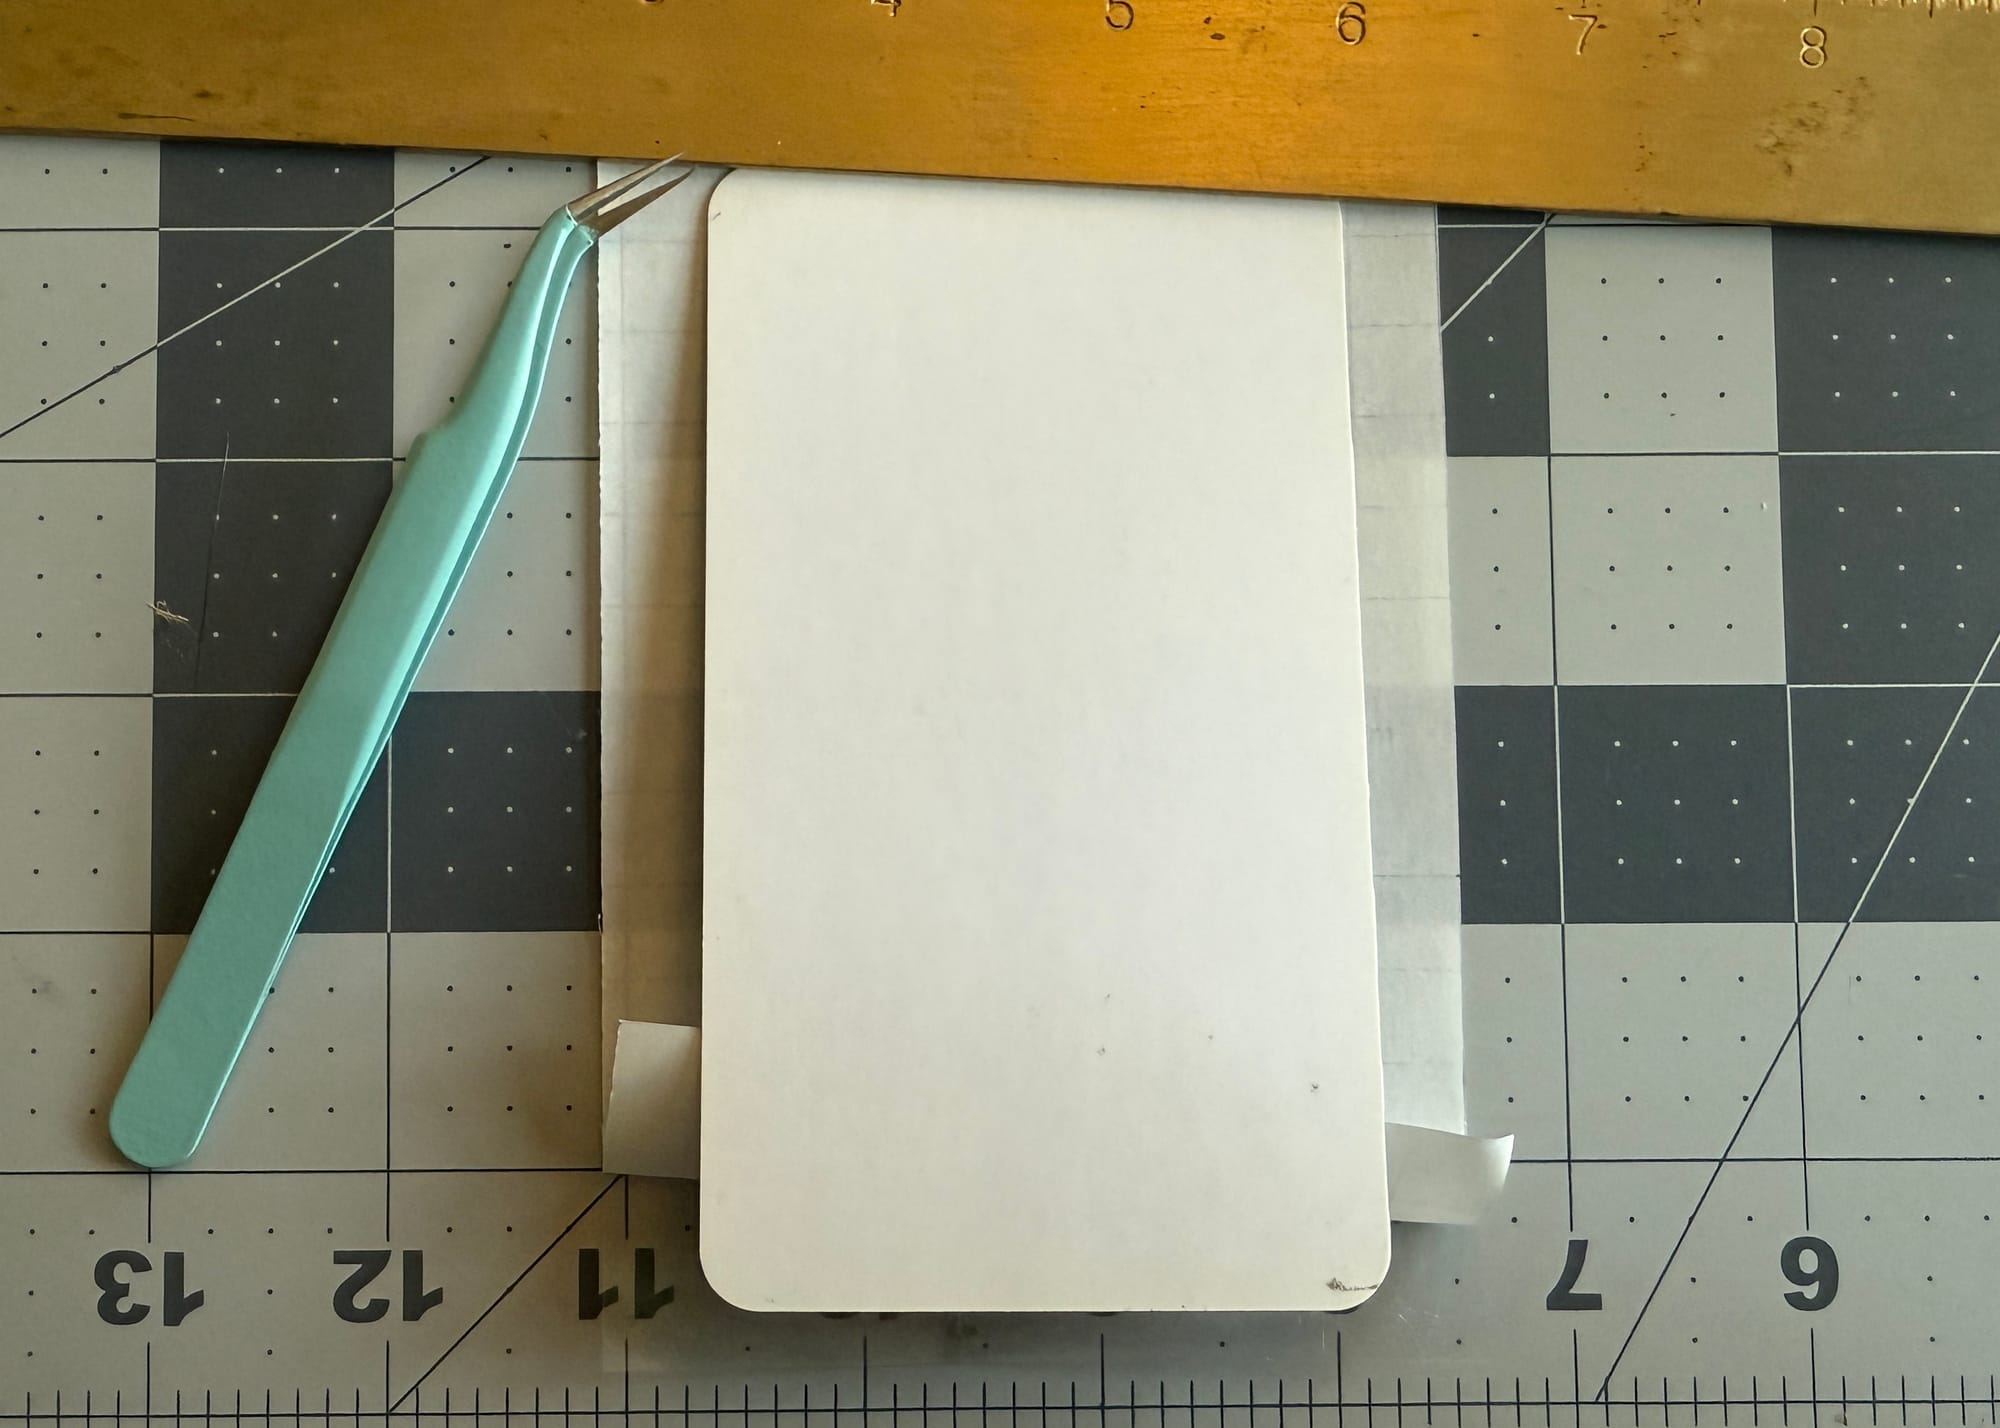
Now you're going to apply the transparent vinyl. position your card on top of the vinyl and its backing. Peeling up the bottom edge of the backing a little, place the card with a 1/4 allowance on the sides.
Holding the card in place, slowly pull up the vinyl backing, smoothing the card down as you go. Using a ruler, weight, or tape to hold down the top of the vinyl will make this easier.
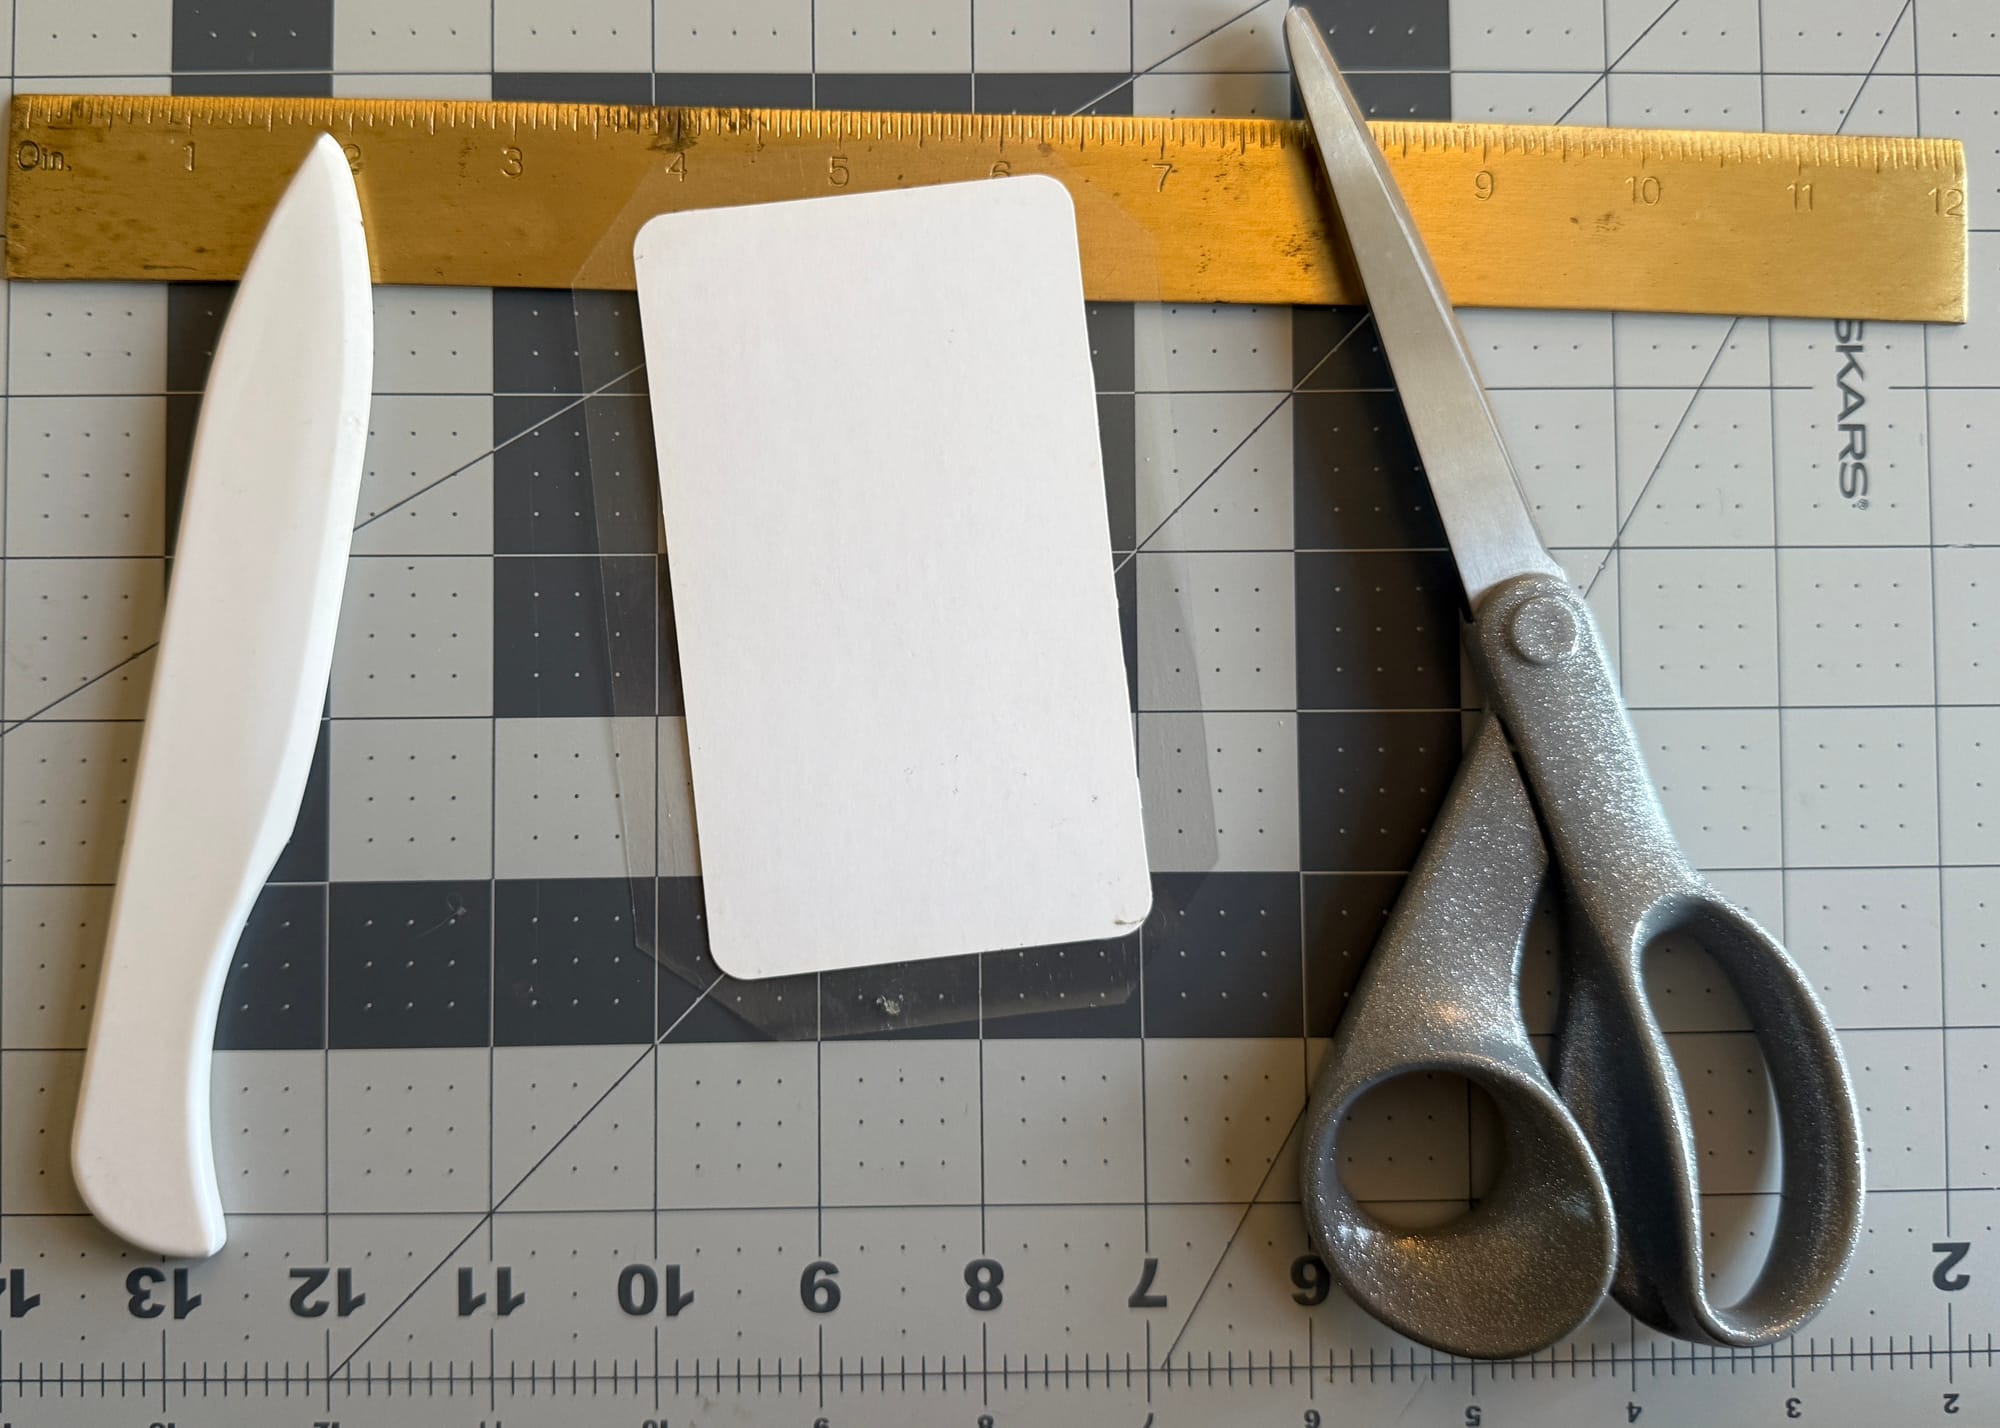
Once the front is set, cut the corners at an angle so you don't have excess when you fold them over. Using the bone folder (or a credit card), fold the edges over, working out the bubbles as you go.
Once the edges are set, finish smoothing them down. If you have round corners to your cards like I do, trim any excess vinyl from the corners with your scissors.
Next, measure the back vinyl. You won't need any overlap here, so you can measure more closely to the edge. Give yourself a bit of a border, since this will make it much easier to place the card with an even edge.
Follow the same process for applying the back vinyl as you did the front, then trim closely to the edges.
If you are using shiny back vinyl like I did (or any metallic or holo), you won't want to use any sharp edges to smooth it over. I smoothed the front first with the bone folder (to press down both sides). Then, I used my thumb in my shirt sleeve to get the edges down and the bubbles out of the back.
Then, tada! You have finished a card. Keep doing this until you feel like your deck is done. Good job!
Some final notes:
This is a pretty flexible project, supplies wise. You don't need card blanks like I have, you can also use index cards or other cardstock-type material like scrapbook paper. You also don't need to use stickers since any flat paper material will work. If you use non-sticker material, that glue tape will come in handy.
Since I was using temporary clear vinyl on the front, I needed a way to secure the edges. So that's why I folded the sides over to the back to use the permanent vinyl to secure it. You may not want to do this, but I like the way that the permanent vinyl flattened over the folded sides. If you don't like this, you can also use a thicker permanent vinyl than I did, but your mileage may vary.
Thanks for reading and good luck with your own project!